8 Tips to Improve Your Cover Crop Program
A vegetable grower who was interested in expanding dryland squash production while reducing his use of plastic mulch contacted me in 2014. He wanted to plant a cover crop and modify tillage to manage weeds and soil moisture, all-the-while maintaining yields.
So in 2015, we took some time to write a Specialty Crop Block Grant which funded a two-year project investigating the moisture retention capacity of a fall-planted rye mulch in butternut squash under no-till, strip-till, plasticulture, and bareground production methods. We repeated the trial in 2016, but focused more on nutrient management.
What I would like to share with you here is a review of some of the knowledge gaps that we bridged running these trials on-farm, with borrowed equipment, and under the time crunched schedule of a real-world, diverse vegetable production system. Incorporating cover crops is a learning curve. Hopefully, both organic and conventional growers can learn something from our work.
- Establishing the rye.
Calibrate your drill before planting rye in fall. In the first year we only put about half of our intended rye down in the experimental area, but did not notice at the time because of the amount of acreage covered that day. In addition, different rye varieties can have different seed size, and adjustments should be made for that. A poor stand decomposes faster than a thick one, leaving soil open for weed germination and moisture loss. However, a lighter stand will also tie up less nitrogen. We seeded 70 lb/ac in the first year, and most of the mulch was gone by August. In 2016 we used 120 lb/ac and the rye remained thick and matted through October.
Plant the rye perpendicular to the direction you intend to plant your crop next year, or one of your crop rows may end up over a rye row with a different set of soil characteristics for that seeding unit. Broadcast seeding can reduce this problem, but if rye is overseeded into a cash crop, you’ll alternatively have old crop rows to worry about.
- Killing the rye.
If you intend to use rye for winter cover, but want bare soil in spring for laying plastic or bareground planting, then you should kill and incorporate that rye before it’s shin-high. For a rye mulch, let it head out and then terminate it. Other Extension researchers have indicated that organic producers can successfully terminate rye with a couple of passes of a roller-crimper. We sprayed it off with glyphosate and let it sit for about 1 week before rolling. In two years, the rye never sprung back on us. Rye should be rolled parallel to new crop rows so planter coulters can ride lengthwise between rye stems.
- Tillage.
We tried strip-tilling and no-till management. Seeds took 7-10 days longer to germinate under no-till in both years. Also in both years, this difference in emergence timing appeared to be important for competition with weeds. This was especially apparent in 2016, when volunteer potato, and pigweed came through the rye 4 weeks after our pre-emergent herbicide program (see #5 below). The squash swamped weeds with their vines in strip-till plots, but the no-till squash faced greater weed competition before they could vine, and weeds were able to stay above the squash canopy.
- Nitrogen.
When rye is planted in the fall, it takes up excess nitrogen and stores it like a bank. If you let it get big for mulch, it accumulates a lot of nitrogen that is not immediately available to your crop. The decomposition of rye biomass can further immobilize soil nitrogen as bacteria work to consume the large volume of carbon. In 2015, we broadcast 80 pounds of actual nitrogen fertilizer over the rye mulch. However, our squash stand was better in 2016 when we used a vacuum seeder that deposited 60 pounds of nitrogen from urea or 70 pounds of nitrogen from controlled-release fertilizer with 5 by 5 placement..
- Weed control.
We chose to use a pre-emergent herbicide program, with no post-emergent follow-up. In 2015, we used the four W’s: wrong product (Dual Magnum by itself); wrong rate (high rate can stunt plants); wrong time (before seeding); and wrong place (plots were too big for good boom coverage). That resulted with weeds in every plot, but none more so than in the no-till plots where squash got the slowest start.
In 2016, we used the 4 R’s: right product (Sandea from Gowan Co., plus Curbit from Loveland Products, plus Command from FMC Corporation); right rate (0.5 ounces, 3 fluid pints, and 1.33 fluid pints, respectively); right time (day after seeding followed by ½-inch rain); and right place (plots matched boom swath).
This time the results were much better. We saw excellent weed control in strip-till plots, moderate control in no-till plots, and moderate-to-low weed control in bareground plots. Our worst weed pressure was in a bareground plot that we chisel plowed and tilled about a dozen times to incorporate the mature rye (see point No. 2).
- Selecting the plants and spacing this works best for.
Originally we had wanted to use bush-type acorn squash, but the market changed and a vining butternut was selected, with 5 feet between row spacing. In hind-sight, this was desirable, since we did not use a post-emergent herbicide program, and good stands of squash were able to vine together and shade weeds. If we chose to use bush-types in the future, we would probably try tightening up the row spacing to 3 feet.
- Seeding.
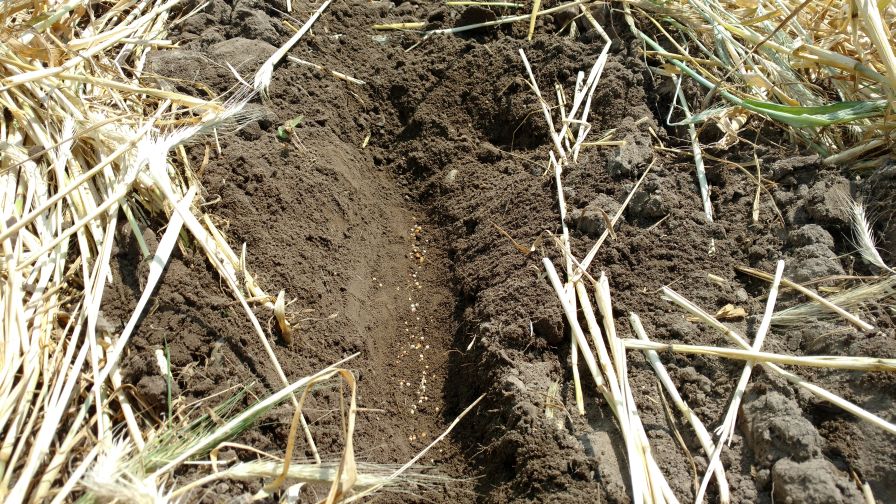
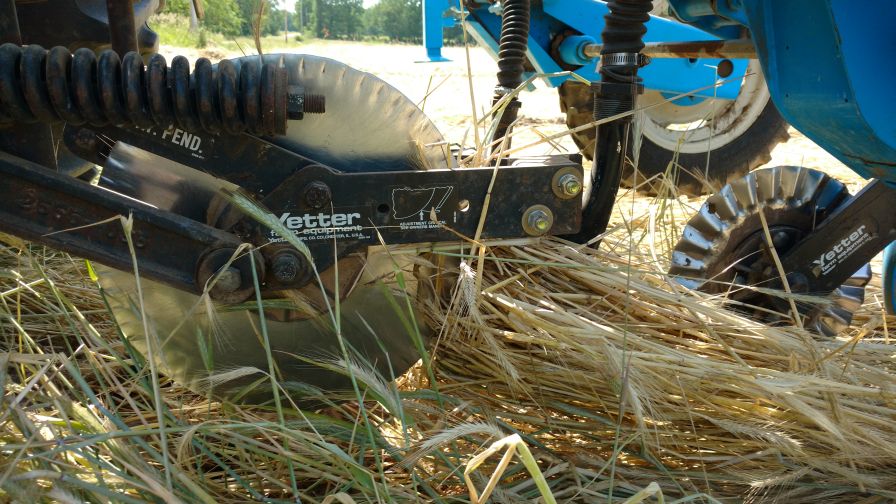
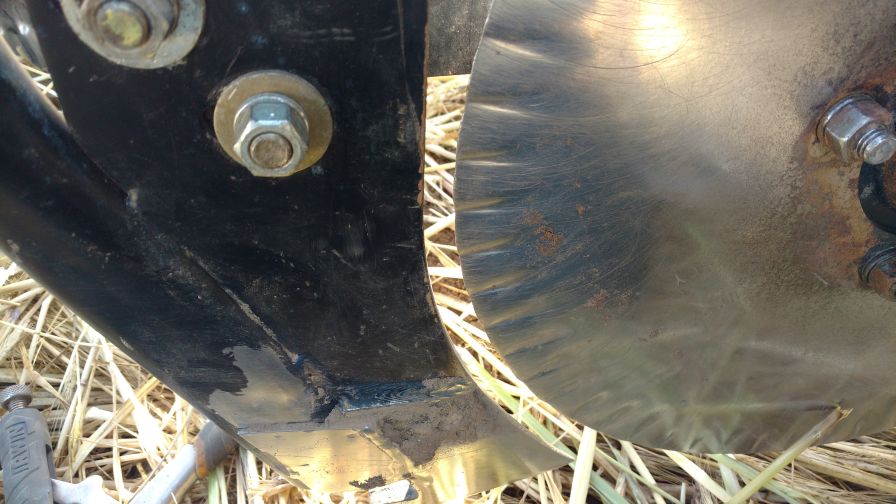
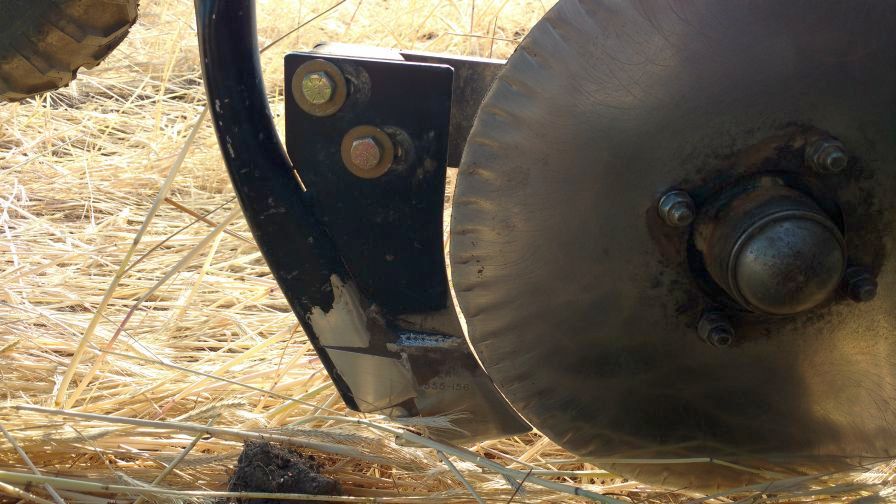
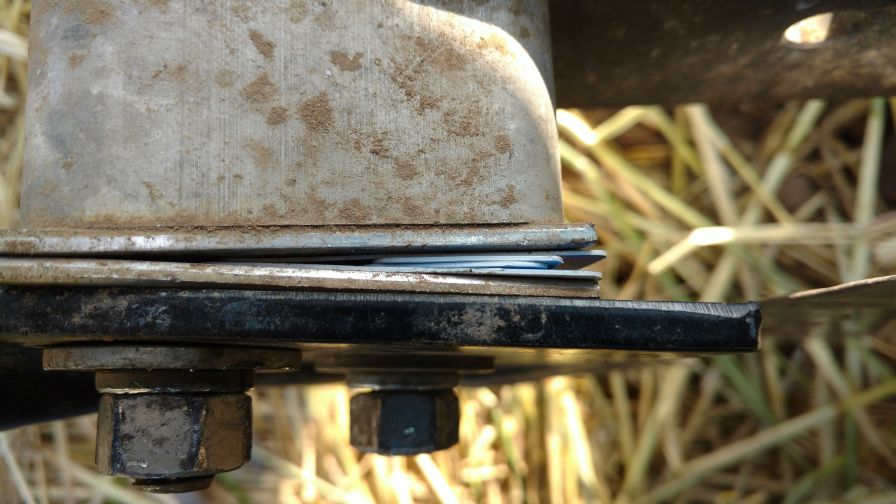
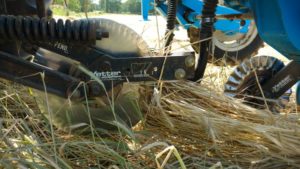
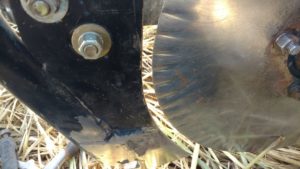
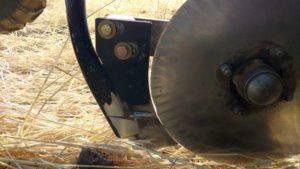
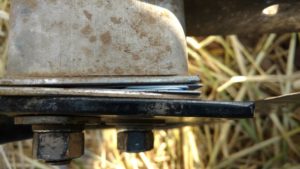
If you’re seeding in a no-till situation, you’ll need to be creative about marking rows. It can be hard to see tractor passes on a thick bed of rye. Seeders can also get clogged with rye no matter if you’re driving with the direction of rolled rye, or against it. Align the coulters and seed/fertilizer shanks so that rye won’t get caught up between them. Shanks should be directly behind coulters without any snag points to either side. The shanks must also hug the coulters as close as possible. If rye starts to gather up there, it can drag and eventually plow soil, leaving seeds and fertilizer exposed. For no-till, consider increasing seeder down-pressure, since the ground is often much harder.
- Consider transplanting.
No-till seeding results in slower germination, but strip-tilling requires an additional piece of equipment. Can you transplant into a no-till mulch to overcome slow establishment? Yes you can, but it requires transplanter modifications. No-till transplanters incorporate a toolbar with a wavy coulter, or subsoiler shank that goes ahead of the transplanter unit to break through the soil without displacing too much of the mulch. Sometimes, additional weight is added off the back, which makes these units long and requires an appropriate tractor height or a lift-assist system to lift the unit without dragging. Carousel-style transplanters are more commonly modified for no-till. In 2018, we hope to trial a system like this for cole crops.
You can read my full study that was the setting for my picking up these tips at Purdue University’s website.


